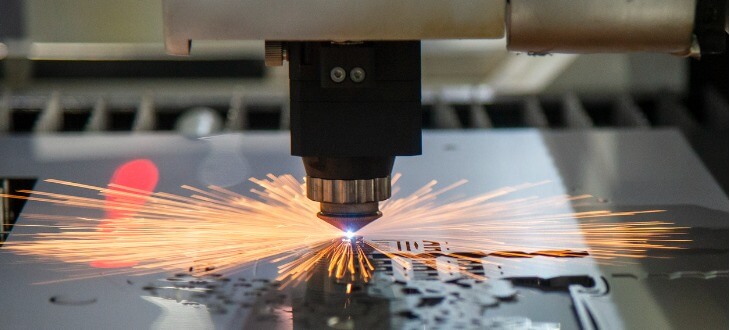
There are many ways to engrave metal, including using a Dremel engraving tool, a laser engraver, or engrave by hand. This article will outline the tools you will need and the steps to take to properly engrave metal.
How to Engrave Metal With a Dremel Engraving Tool
Tools You Will Need
In order to successfully engrave metal, you will need a Dremel engraving tool, and then the metal objects you would like to engrave, such as a spoon or mug.
Clean Your Object
First things first, you will need to clean the object you got to engrave. This is so that in the next step, you will have a nice clean object to outline.
Outline Your Design
Next, you will want to outline your design. A pro tip is to use a dry-erase marker to outline your design. This is so that if you make a mistake, you can easily erase it and not harm the metal. Additionally, you can purchase stencils from the store or online to assist in designing.
Engrave Your Design
In this step, you will begin engraving your design. Review the design you created in the previous step, and use your Dremel engraving tool to engrave the metal.
How to Engrave Metal using Lasers
Tools You Will Need
To engrave metal using lasers, you will need a laser engraver and some isopropyl alcohol.
Set Up Your Laser Engraver Software
The first step is to set up your laser engraver software, as you will need some sort of program to run the laser. Here is where you will set up the design you want to engrave and enter the material, size and laser mode.
Clean Your Metal
Before you begin, you will need to clean your metal before you engrave it. This is where your isopropyl alcohol comes in. You will need to spray your metal down and ensure it is dry before proceeding.
Place Your Material Inside The Engraver
For this example, we will be focusing on metal. Once you have your software set up and your design uploaded, you will want to place your metal inside the engraver. Make sure it is positioned the way you want it and you are all set to start engraving.
How to Engrave Metal By Hand
Tools You Will Need
In order to engrave metal by hand, you need to pick the type of engraving tool you want. This can be an onglette graver, oval graver, flat graver, and so many more.
The full list of things you will need are:
- Graver set
- Hammer
- Ball Vise
You will need acetone, cleaning materials, or even a stencil or printed image to know where to engrave your design.
Clean Your Metal
The first step is to clean your metal. Ensure your materials are clean and ready to go before you start working on it. You could use any cleaning materials you have around the house to do so.
Put Your Metal in the Ball Vise
Next, lock in your metal with the ball vise. A ball vise holds the metal piece while you work on it. This needs to be secure before you go on to the next step.
Place Your Design on the Metal
Next, place your design onto the metal. You need to create an outline on the metal so you know where you can engrave.
An easy way to do this is to stamp the design on your metal. First, print out the image, correct to size, to go on the metal. Then, place a damp acetone-soaked cloth over the print. This will stamp the design on your metal. If you do not want to do that, you may simply draw it on with a marker.
Engrave Your Metal By Hand
All the previous steps have led to this one. You are ready to engrave your metal by hand. You may want to look into different tools as they all have a unique way of carving.
Visit Tampa Steel & Supply for Quality Metal, and All Your Metal Processing Services
Do you need help with woodworking or metalworking? The experienced professionals at Tampa Steel and Supply are here to help. We provide the highest quality of services to our customers.
Request a Quote Online
Or Call Tampa Steel & Supply at (813) 241-2801

